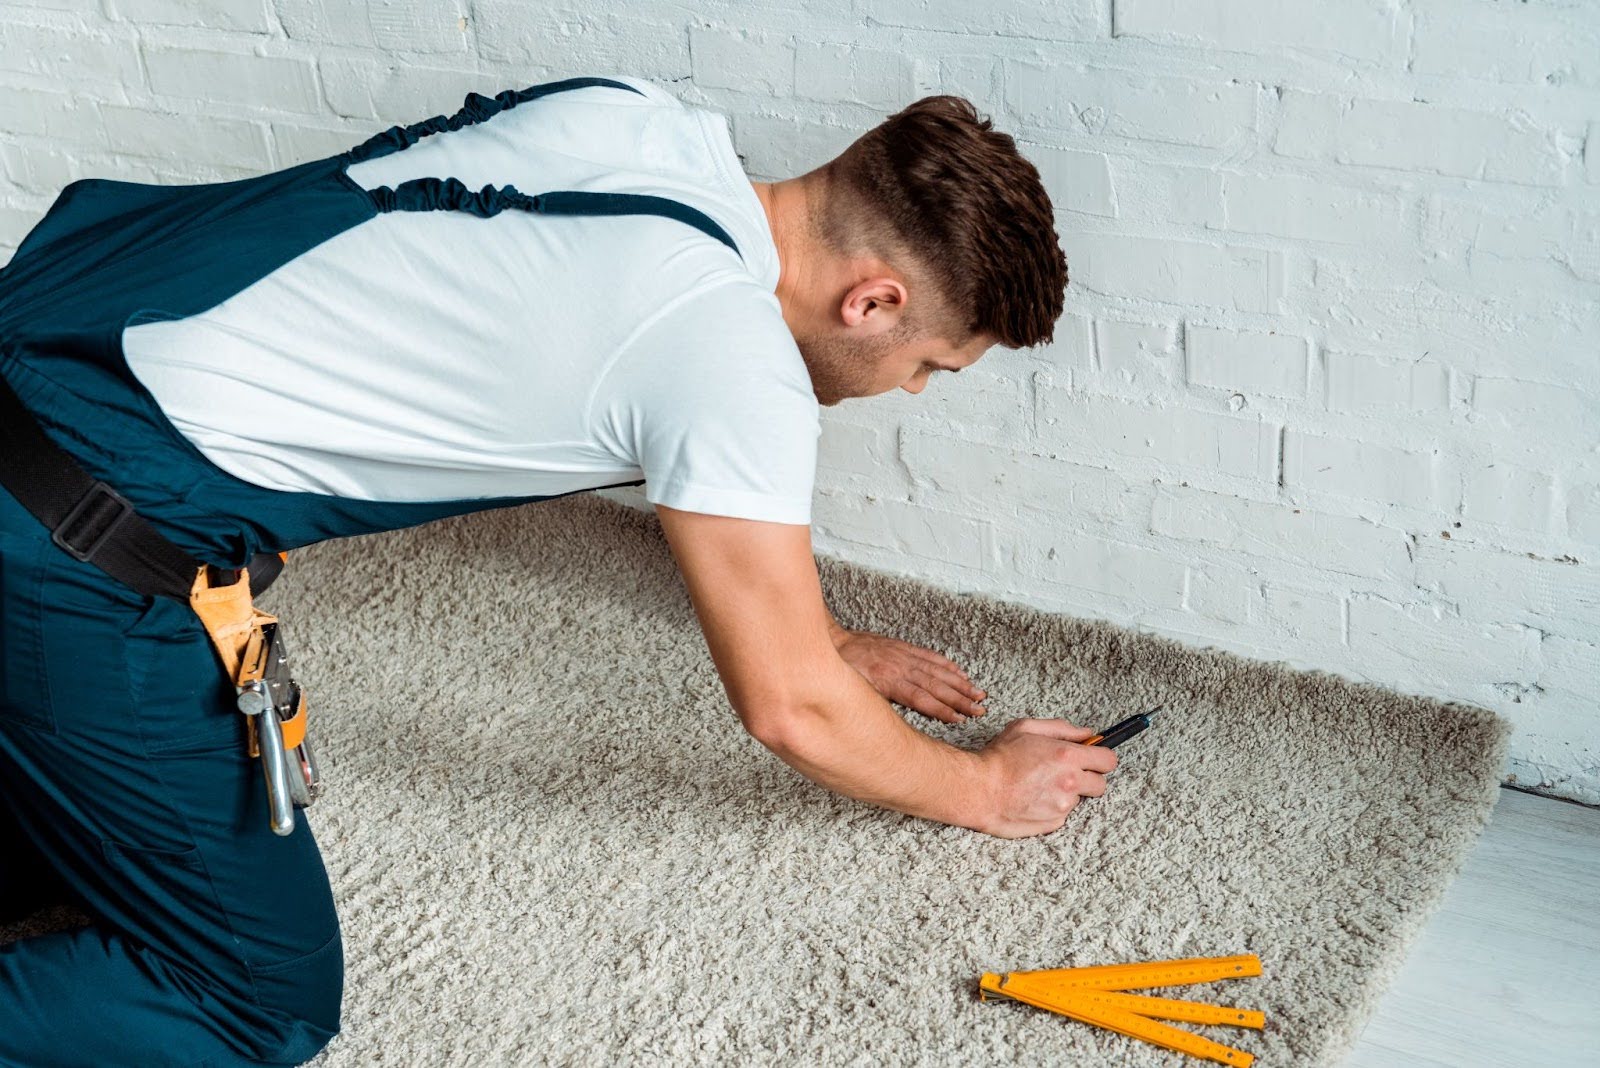
Installing any broadloom carpet on concrete can greatly enhance your space by providing a durable, easy-to-maintain surface. Whether you’re looking to upgrade your basement, patio, or garage with a indoor-outdoor or residential plush carpet that will stand up to the elements and heavy foot traffic. At Tom Adams Windows & Carpets, we specialize in home improvement and have years of experience in carpet installation. Our quality materials and expert craftsmanship ensure a seamless finish that you’ll enjoy for years. When installing a carpet on concrete the first decision is the type of carpet, and then that will decide how we will do the correct installation.
In this guide, you’ll learn how to:
- Prepare your concrete surface for carpet installation
- Select the right type of carpet
- Gather the essential tools and materials
- The correct installation of the carpet you selected.
- Install carpet on concrete with and without tack strips
- Achieve a seamless finish
- Maintain your carpet for long-lasting beauty
Preparing Your Concrete Surface
A successful carpet installation starts with a well-prepared concrete surface. Here’s how to get your floor ready if you plan to glue down an INDOOR-OUTDOOR LIGHT COMMERCIAL CARPET:
- Thorough Cleaning:
- Sweep and vacuum to remove all dust and debris.
- Damp wash the floor using a concrete cleaner to eliminate grease and grime.
- Allow the floor to dry completely before proceeding.
- Remove Old Adhesive, Paint, and Debris:
- Scrape off any old adhesive using a putty knife or floor scraper.
- Use paint remover or a grinder to get rid of any lingering paint.
- Clean up all chemicals that were used in floor prep
- Ensure all loose debris is cleaned up; even small particles can affect adhesion.
- Inspect and Repair:
- Look for cracks or uneven areas on the concrete surface.
- Fill cracks with a concrete patching compound.
- Sand down any uneven spots to create a smooth, level surface.
- Ensure the Surface is Dry:
- Moisture can prevent adhesive from setting correctly. Use a moisture meter to check the humidity level.
- If needed, run a dehumidifier in the room for a few days to bring moisture levels down.
- Final Check:
- Make sure the surface is completely clean, dry, and level before you start laying down the adhesive prior to gluing down the carpet.
By following these steps, you’ll create a perfect foundation for your indoor-outdoor carpet, ensuring a seamless finish and long-lasting performance. Visit one of our showrooms at Tom Adams Windows & Carpets for expert advice and top-quality carpet options.
Selecting the Right Carpet
Choosing the right carpet is important for durability and satisfaction.
Consider the Following:
- Type of Space:
- For high-traffic areas: Choose a durable, low-pile carpet.
- For outdoor spaces: Opt for weather-resistant materials.
- For more comfort, look for residential carpet that works with the traffic that will be created
- Materials:
- Polypropylene: Known for its stain resistance and light durability, making it great for various settings.
- Polyester: Offers bright colors and a softer feel, resistant to stains and sun, though it may not be as durable as polypropylene based on construction.
- Nylon: Strong and resistant to wear, suitable for busy areas.
- Commercial Loop /Berber: Offers a rugged look and excellent durability due to its looped fibers.
- Plush or Saxony: Provides a softer, more luxurious feel, ideal for more indoor areas where comfort is a priority.
Tools and Materials Needed
Before starting your carpet installation, gather the following essential tools and materials:
Essential Tools:
- Utility Knife: For cutting the carpet to the right size.
- Measuring Tape: To measure the dimensions of the area accurately.
- Carpet Roller: To press the carpet down and ensure a good bond with the adhesive.
- Knee Kicker: Helps stretch the carpet into place for a tight fit.
- Straight Edge/Ruler: Assists in cutting straight lines.
Essential Materials:
- Carpet Adhesive: Crucial for sticking the carpet to the concrete. Ensure the adhesive is suitable for use on concrete.
- Double-Sided Tape: An alternative to adhesive, useful for smaller areas or temporary installations.
- Tack Strips: Used along the edges to hold the carpet in place (if not installing without tack strips).
- Carpet Padding: Provides extra comfort and helps the carpet last longer. Note that not all indoor-outdoor carpets should have or require padding.
How to Install Carpet on Concrete Floor
Follow these steps to properly install your carpet on a concrete floor.
Step-by-Step Guide:
- Unroll and Lay Out the Carpet:
- Lay the carpet out in the room for 24 hours to let it acclimate.
- Measure and Cut:
- Use the measuring tape to measure your space, then cut the carpet accordingly.
- Apply Adhesive:
- Spread the carpet adhesive evenly over the concrete floor using the correct trowel.
- Lay the Carpet:
- Carefully lay the carpet over the adhesive. Start from one end and work towards the other, pressing it down as you go.
- Smooth with Carpet Roller:
- Use the carpet roller to smooth out any wrinkles and ensure the adhesive bonds well.
Tips for Seams and Edges:
- Align seams precisely to avoid noticeable joins.
- Trim edges carefully for a clean finish.
How to Install Carpet on Concrete Without Tack Strips
Skip tack strips and use adhesive or double-sided tape for installation.
Alternatives to Tack Strips:
- Professional Double-Sided Carpet Tape:
- Place the tape along the edges and seams of the carpet.
- Press the carpet firmly onto the tape.
- Carpet Adhesive:
- Use an adhesive designed for concrete surfaces.
- Spread it evenly and lay the carpet over it, smoothing it with a roller.
Benefits and Drawbacks:
- Advantages:
- Quicker and easier than using tack strips.
- Doesn’t require drilling into the concrete.
- Drawbacks:
- May not be as secure as tack strips for high-traffic areas.
How to Install Carpet Tack Strips on Concrete
Installing tack strips on concrete can be a bit tricky, but with the right tools and technique, you can secure them firmly for a smooth installation process. Here’s a detailed guide to help you through this:
Tools and Materials Needed
- Tack strips
- Masonry nails or concrete screws
- Hammer drill
- Drill bit suitable for concrete
- Hammer
- Safety goggles
- Measuring tape
- Pencil or marker
- Carpet Stretcher
Step-by-Step Instructions
- Measure and Mark:
- Start by measuring the perimeter of the room where you will install the carpet.
- Use a pencil or marker to make small marks on the concrete where the tack strips will be placed.
- Prepare the Tack Strips:
- Lay the tack strips around the edges of the room, with the pins facing the wall.
- Leave a small gap (approximately the thickness of the carpet) between the wall and the tack strips.
- Drill Holes:
- Using a hammer drill with a concrete bit, drill holes at the marked spots.
- Or a Hammer with good strength behind it
- Make sure the holes are deep enough to accommodate the masonry nails or concrete screws.
- Install the Tack Strips:
- Place the tack strip over the drilled holes or hammer concrete tack strip. Secure the tack strip by hammering masonry nails or screwing in concrete screws through the holes.
- Ensure the tack strips are firmly in place.
- Install Pad and Carpet:
- Layout the padding inside tack strip by using double stick tape or pad adhesive
- Tape Seams of padding
- Layout carpet and stretch to tack strip and push carpet on tackstrip.
- Stretch carpet around room and on tack strip.
Safety Tips
- Always wear safety goggles while drilling to protect your eyes from concrete dust and debris.
- Ensure the room is well-ventilated to avoid inhaling dust particles.
How to Install Carpet Squares or Tiles on Concrete
Carpet squares or tiles are ideal for spaces where design flexibility and easy maintenance are desired. Here’s how to install them on a concrete floor:
Tools and Materials Needed
- Carpet tiles
- Carpet adhesive or double-sided tape
- Utility knife
- Measuring tape
- Straight edge or ruler
- Chalk line
- Carpet roller
Step-by-Step Instructions
- Prepare the Surface:
- Thoroughly clean the concrete floor to remove any dust, dirt, or debris.
- Make sure that the floor is dry and smooth before starting the installation.
- Plan the Layout:
- Measure the room and mark the center using a chalk line.
- Start laying out the carpet tiles from the center and work your way towards the edges.
- Apply Adhesive or Tape:
- Apply carpet adhesive or double-sided tape to the back of each tile. Make sure to cover the edges and corners well.
- If using adhesive, follow the manufacturer’s instructions for drying time before placing the tiles.
- Lay the Tiles:
- Press each carpet tile firmly onto the concrete floor starting from the center and moving towards the edges.
- Ensure that the tiles are closely fitted together with no gaps.
- Cut to Fit:
- Use a utility knife and a straight edge to cut tiles to fit along walls and corners.
- Be precise to ensure a neat finish.
- Roll the Carpet:
- Once all tiles are placed, use a carpet roller to press them firmly onto the adhesive.
- This step helps secure the tiles and ensures good adhesion.
Benefits of Carpet Tiles
- Easy Replacement: Individual tiles can be replaced if damaged without tearing up the entire carpet.
- Design Flexibility: Tiles allow for creative patterns and designs, making it easy to customize flooring.
Let the Pros at Tom Adams Handle It
If you’re looking for professional help installing your carpet, the pros at Tom Adams can help. For decades, we’ve been helping homeowners renovate and remodel their homes with high-quality workmanship. Get a free quote today!


