Installing laminate or an LVT Waterproof Click flooring on concrete is a straightforward project that can transform the look of any room. Whether you’re looking to update your basement, kitchen, or living room, laminate flooring is an excellent choice. It mimics the look of real wood while being durable and easy to maintain. In this guide, we’ll walk you through the steps to successfully install laminate flooring on concrete.
Understanding Laminate Flooring
LVT or Laminate flooring is a versatile and cost-effective flooring option. It consists of multiple layers, including:
- Wear layer: Protects against scratches and wear.
- Decorative layer: Provides the appearance of wood, stone, or tile.
- Core layer: Adds durability and stability.
- Backing layer: Offers additional support and protection.
- Pad: If no pad is attached for floor, then add pad
Why is a Click LVT or laminate flooring a popular choice for concrete floors?
- Moisture resistance: With proper underlayment and moisture barriers, laminate flooring can handle minor moisture issues that are common with concrete.
- Ease of installation: Designed for DIY projects, laminate flooring often uses a click-lock system, which simplifies the installation process.
- Cost-effectiveness: Compared to hardwood or tile, laminate is more affordable while still offering a high-end look.
LVT or Laminate flooring has several benefits when installed on concrete:
- Durability: It’s resistant to scratches, stains, and impacts, making it ideal for high-traffic areas.
- Aesthetic appeal: Today’s Click flooring comes in various styles and finishes, allowing you to achieve the look of hardwood, stone, or tile without the cost.
- Easy maintenance: It’s simple to clean and requires minimal upkeep.
- Comfort: With the right underlayment, laminate floors can provide a comfortable and quiet walking experience.
Preparing properly is crucial to achieving a professional-looking installation. Paying attention to each step ensures that your flooring will last for years and enhances the beauty and functionality of your space.
Tools and Materials Needed
Before beginning the installation of laminate flooring on concrete, make sure you have all the necessary tools and materials on hand. Being prepared will help ensure a smooth and efficient installation process.
Essential Tools:
- Saw (for cutting laminate planks)
- Tape measure (for accurate measurements)
- Flooring spacers (to maintain expansion gaps)
- Hammer and tapping block (to gently tap planks into place)
- Pull bar (for tight spots)
- Utility knife (for precise cuts)
- Safety equipment (gloves, safety glasses)
Necessary Materials:
- Laminate planks
- Underlayment
- Moisture barrier (if not included in underlayment)
- Transition strips and molding
Safety Equipment:
- Gloves (to protect your hands)
- Safety glasses (to protect your eyes from dust and debris)
Having these tools and materials ready before you begin will save time and reduce frustration during the installation process.
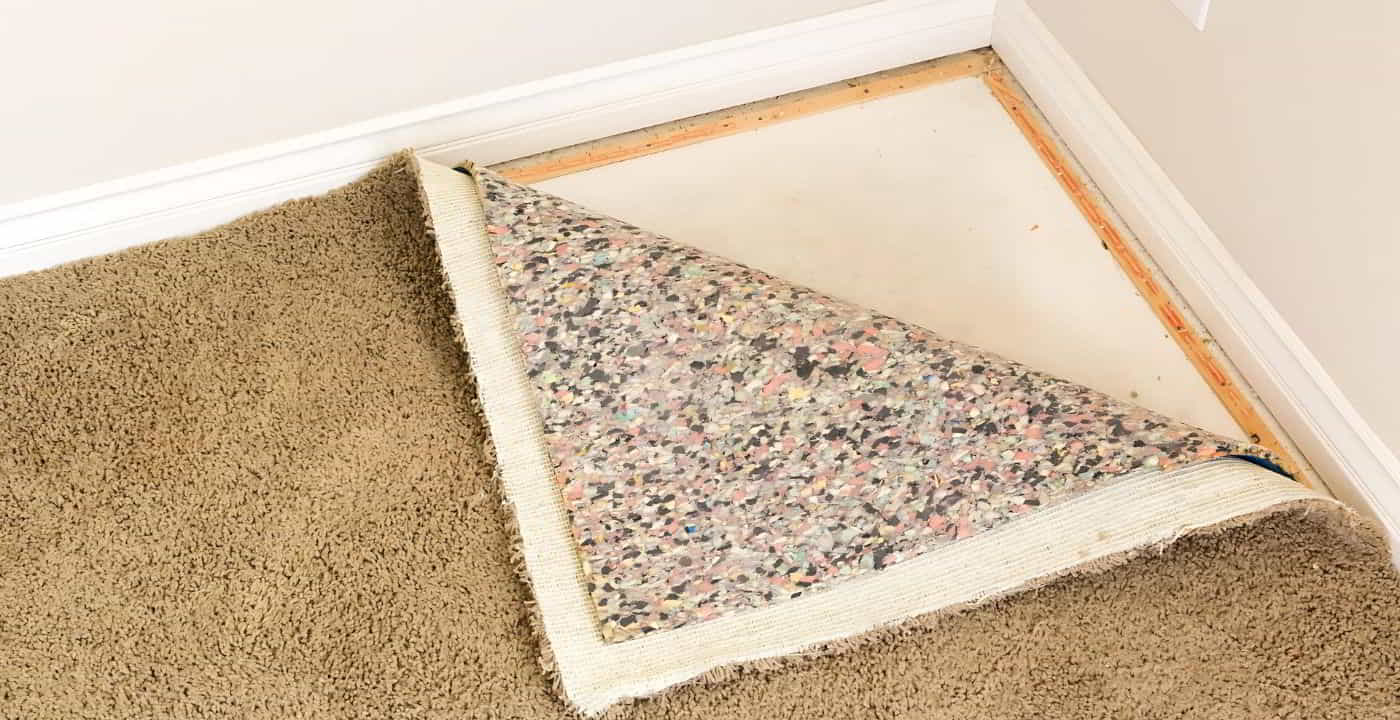
Preparing Your Concrete Floor
Proper preparation of your concrete floor is key to a successful laminate flooring installation. Follow these steps to ensure your floor is ready:
- Cleaning:
-
-
- Sweep and vacuum the concrete floor to remove dust and debris.
- Use a damp mop and mild detergent to thoroughly clean the floor.
- Allow the floor to dry completely before proceeding.
-
- Leveling:
-
-
- Check for any high or low spots on the concrete.
- Use a straightedge to identify uneven areas.
- For high spots, use a concrete grinder to level them out.
- For low spots, fill with a concrete leveling compound and allow it to dry completely.
-
- Moisture Barrier:
-
-
- Concrete floors can emit moisture, which can damage flooring.
- Test the moisture level of your concrete using a moisture meter.
- If below or on grade, moisture may exist, apply a moisture barrier or ensure your underlayment includes a moisture barrier if not then add a 3 -5 mill plastic and overlap and tape the seams
-
- Inspection:
-
- Ensure there are no cracks or damages on the concrete surface.
- Repair any noticeable cracks using a concrete repair filler.
Proper floor preparation can significantly enhance the durability and performance of your laminate flooring. By following these preparatory steps, you set the stage for a successful installation of your laminate flooring on concrete.
How to Install Underlayment for Laminate Flooring on Concrete
Choosing the right underlayment is crucial when installing your flooring on a concrete floor. Here’s what you need to know and do:
Types of Underlayment Suitable for Concrete:
- Foam Underlayment: Lightweight and easy to install, foam provides good sound reduction and feels comfortable underfoot.
- Cork Underlayment: Offers excellent sound insulation and is environmentally friendly.
- Combination Underlayment: Combines foam and a moisture barrier, protecting your laminate flooring from damp concrete.
Step-by-Step Instructions for Laying Down Underlayment:
- Clean the Concrete Floor: Ensure the floor is clean and dry. Remove any debris or dust to prevent uneven areas.
- Roll Out the Underlayment: Start at one corner and roll out the underlayment parallel to the wall.
- Cut to Fit: Use a utility knife to trim the underlayment to fit snugly around walls and obstacles.
- Tape the Seams: If using multiple sheets, overlap as needed and tape the seams to secure them. Ensure there are no gaps.
- Lay Another Layer if Required: If your selected underlayment needs more layers for better insulation or moisture protection, repeat the above steps.
Common Errors to Avoid:
- Skipping the Moisture Barrier: Never skip the moisture barrier when laying underlayment on concrete to prevent mold and moisture damage.
- Improper Overlapping: Ensure that the underlayment sheets overlap and are properly taped. Gaps can lead to uneven flooring and moisture issues.
- Uneven Surface Preparation: Always level the concrete floor before laying the underlayment to avoid bumps.
For a professional touch, always consider hiring expert services like those offered by Tom Adams Windows & Carpets for a flawless installation experience.
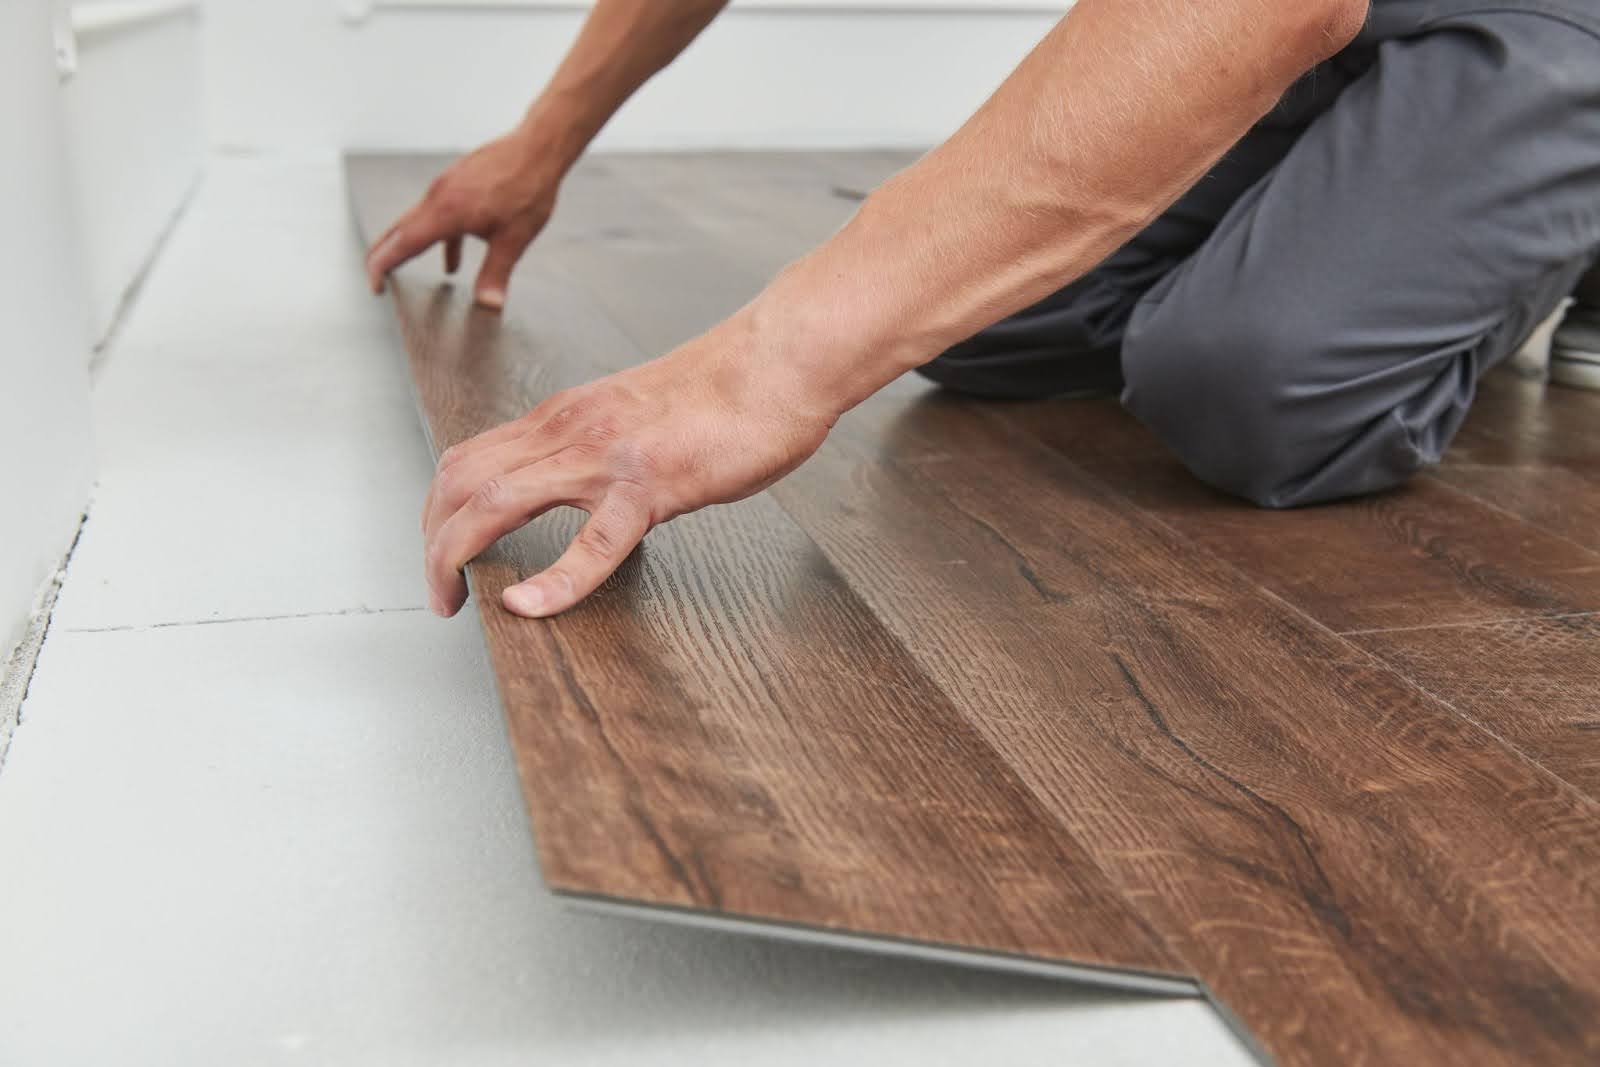
How to Install Click Laminate Flooring on Concrete
After laying the underlayment, it’s time to move on to installing the laminate flooring. Follow these steps for a seamless installation:
Measuring and Planning the Layout:
- Measure the Room: Measure the length and width of the room to determine how many planks you need. Add 6%-10% extra for cuts and waste, based on with and length of planks and room layout.
- Plan the Layout: Decide on the direction you will lay the planks. Running the planks parallel to the longest wall often looks best.
- Acclimate the Planks: Lay the laminate planks in the room for 48 hours to adjust to the room temperature and moisture level.
Installing the First Row and Subsequent Rows:
- Start with a Straight Line: Place spacers along the wall to ensure a small gap (about 1/4 inch) for expansion.
- Tip: Use a chalk line to ensure your first row is perfectly straight.
- Lay the First Plank: Place the first plank with the tongue side towards the wall. Ensure it’s aligned with the spacers.
- Connect the Planks: Angle the tongue of the next plank into the groove of the first plank and press down. Continue this for the entire row.
- Cut the End Plank: Measure and cut the last plank to fit. Use a jigsaw or circular saw.
- Start the Second Row: Use the off-cut from the last plank to start the next row (if it’s at least 12 inches). Ensure the joints are staggered.
- Repeat the Process: Continue laying the planks, ensuring each row is secure and tight by tapping them with a tapping block.
- Undercut all Door Jambs: Use an undercut saw and undercut all door jambs and slide flooring under but leaving at least an 1/4” gap from the edge.
By following these steps carefully, you can achieve a beautiful, long-lasting laminate floor on concrete, enhancing your living space.
Tips for Installing Any Laminate Flooring
Installing laminate flooring on concrete need not be challenging. Here are some specific tips to ensure a smooth installation for any laminate flooring.:
Compatibility and Preparation
- Underlayment: Make sure your underlayment is compatible with Pergo planks.
- Moisture Barrier: Always install a moisture barrier over concrete floors to prevent damage.
Step-by-Step Tips
1. Acclimate the Planks
- Time-Frame: Allow Pergo planks to acclimate for at least 48 hours in the installation area.
2. Use Proper Tools
- Tools: Ensure you have a tapping block, pull bar, and spacers specifically designed for laminate flooring.
3. Start with a Clean Subfloor
- Clean and Check Levels: Sweep and verify the concrete floor is level and dry.
4. Begin Laying Pergo Planks
- Cutting: Use a laminate chopper or saw for precise cuts.
- Connecting: Fit together the click-lock planks snugly.
5. Maintain Expansion Gaps
- Spacers: Utilize spacers to maintain the required expansion gaps around the perimeter and obstacles.
By following these tips, you can ensure a successful and long-lasting Pergo laminate flooring installation.
Ready to transform your concrete floors with the beauty and durability of laminate flooring? At Tom Adams Windows & Carpets, we have everything you need for a flawless installation.
Whether you’re tackling a DIY project or seeking expert help, our award-winning team is here to guide you every step of the way. Contact us today for professional advice, high-quality materials, and installation services backed by over 60 years of excellence. Visit our showrooms or call now for a free estimate.