Changing the floor of your home can dramatically improve its appearance and value. If you’re considering hardwood flooring over a concrete base or subfloor, you may face some unique challenges. However, armed with the right knowledge and tools, you can successfully navigate this task. This guide will walk you through the process of how to install hardwood floors on concrete, including the specifics of floating hardwood floors, ensuring you’re well-prepared for the journey ahead.
Why Installing Hardwood on Concrete is Different
Installing hardwood flooring on concrete differs significantly from other surfaces primarily due to the nature of concrete itself. Concrete is a moisture-absorbent material, which can have a detrimental effect on hardwood floors if not properly addressed. Also, because of its hardness and density, traditional methods of securing hardwood flooring such as using nails or staples are ineffective. Therefore, understanding these unique challenges is crucial to ensure the longevity and durability of your hardwood floor.
Understanding Hardwood Flooring Options
Before diving into the installation process, it’s important to familiarize yourself with the types of hardwood flooring available:
- Solid hardwood: Made from a single piece of wood, it offers a classic look. However, it’s not ideal for concrete floors due to its vulnerability to moisture changes.
- Engineered hardwood: Composed of several layers of wood, engineered hardwood is more resistant to moisture and temperature changes, making it suitable for concrete floors. Best with a glue down installation.
- Floating hardwood: This type of flooring doesn’t require adhesive or nails, making it an easier installation option. This hardwood is specifically made to click together for a faster installation.
Essential Tools and Materials
Before you begin the installation process, it’s important to gather all necessary tools
and materials.
- Moisture barrier: This protects your hardwood flooring from potential moisture damage.
- Hardwood flooring: Choose from many styles, widths and thickness, engineered, or floating hardwood.
- Adhesive: For non-floating floors, this is required to secure the flooring to the concrete.
- Trowel: This tool is used to spread the adhesive.
- Rubber mallet: This will help secure the hardwood planks in place.
Preparing Your Concrete Surface
Proper preparation of the concrete surface is crucial for a successful installation. Here’s how you can prepare your concrete:
Cleaning: Sweep and vacuum the entire area to remove dust and debris. This step is essential to prevent bumps and uneven surfaces.
Moisture Check: Use a moisture meter to check the concrete’s moisture content. If the moisture level is high, you may need to use a dehumidifier or find out where the moisture is coming from and fix it prior to installation.
Leveling: If the concrete surface is uneven, you’ll need to apply a leveling compound to create a flat, even base. This compound should be a cement base patch /leveler.
Moisture Barrier Installation: This barrier is essential to protect your hardwood floor from potential moisture damage.
Installing Hardwood Floors on Concrete
With a prepared surface, you’re ready to proceed with the installation of your
hardwood floor:
Applying Adhesive
The first step in laying your hardwood flooring is to apply adhesive to your prepared concrete surface. You’ll want to use the manufacturer’s recommended trowel for this process, as it allows you to spread the adhesive evenly. Start in one corner of the room and apply a uniform layer of adhesive. Make sure to only apply as much adhesive as you can cover with your hardwood planks within 10-15 minutes to prevent it from drying out. Also, it is important to lay the planks an arm length away, so you do not step in or contaminate
the adhesive.
Laying the First Plank
With your adhesive applied, you’re ready to lay your first plank. Position the plank at an angle over the adhesive in the corner of the room you chose to start in. Slowly lower it onto the adhesive, making sure it’s properly aligned. Press down firmly on the plank to ensure it adheres well to the concrete. Give it a few gentle taps with a rubber mallet for good measure. This will help ensure that the plank is fully embedded in the adhesive and will remain secure. Never slide the plank front to back or side to side- The strength of the adhesive when drying will pull the plank back and cause gaps between planks.
Continuing the Process
Once your first plank is securely in place, you can continue the process with the next plank. Apply more adhesive to the concrete and position your second plank snugly against the first. Repeat the process of pressing down and tapping with a mallet. Remember to ensure that each plank fits snugly against its neighbor to avoid gaps.
Wiping Excess Adhesive
As you’re laying planks, keep a close eye out for any adhesive that seeps up between the planks. If you spot any, it’s important to wipe it away immediately. Leaving excess adhesive can lead to it hardening on the surface of your beautiful new hardwood floors, which can be difficult to remove later.
Drying
Once you’ve laid all your planks, you’ll need to let the adhesive dry. Adhesive drying times can vary depending on the type you’re using, so it’s best to refer to the manufacturer’s instructions. However, generally, you should allow at least 24 hours for the adhesive to fully dry. Keep foot traffic off the floor during this time to ensure a strong bond between the concrete and your new hardwood floor.
Installing Floating Hardwood Floors
on Concrete
If you’ve opted for the elegance and versatility of floating hardwood floors, here is how to install floating hardwood floors on concrete.
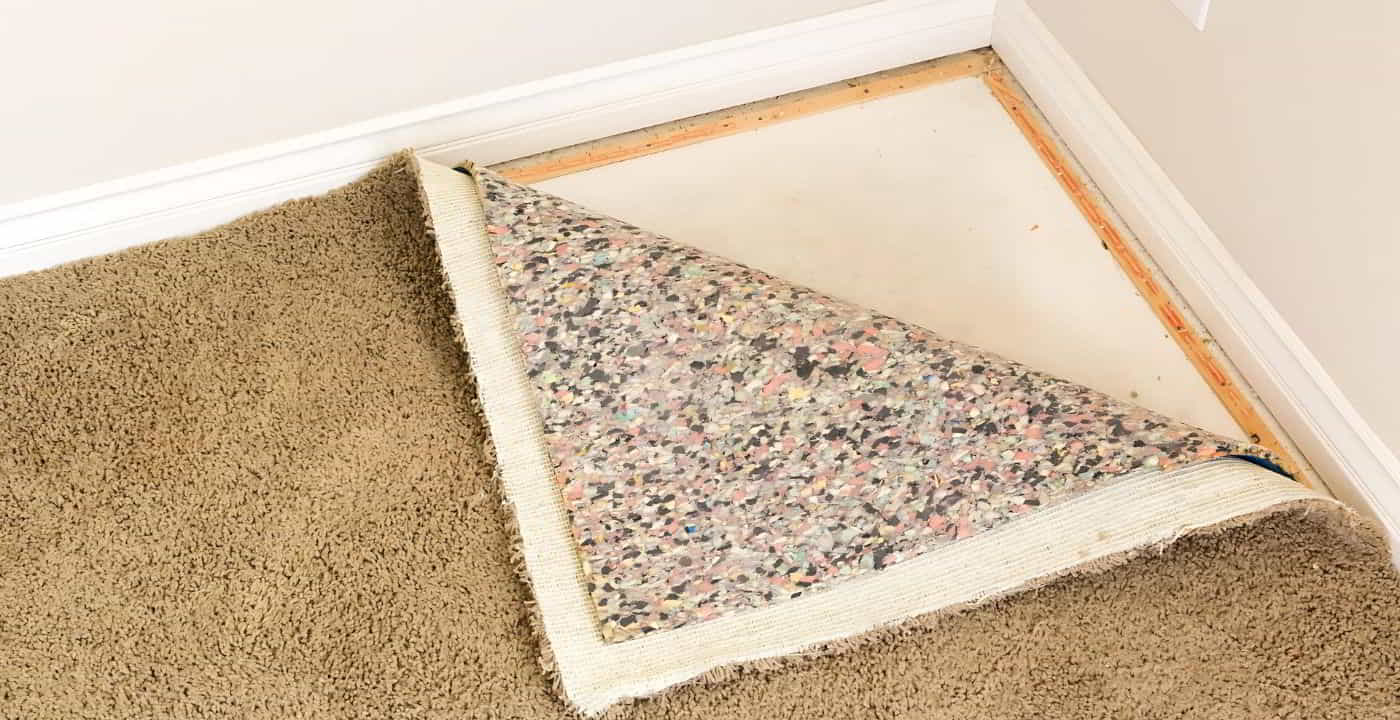
Underlayment Installation
Before you begin the installation of your floating hardwood floor, it’s imperative to establish a solid foundation. This begins with the meticulous installation of the underlayment. The underlayment fulfills a dual purpose in this context, serving as both a moisture barrier and a source of cushioning.
Rolling out the underlayment involves careful placement, ensuring comprehensive coverage of your concrete subfloor. This step is not to be underestimated, as the underlayment acts as a vigilant guardian against potential moisture-related issues. Beyond its moisture-resistant qualities, it adds a layer of cushioning underfoot. This added comfort is not only appreciated when you walk across the floor, but it also serves to dampen sound, contributing to a quieter and more peaceful living space.
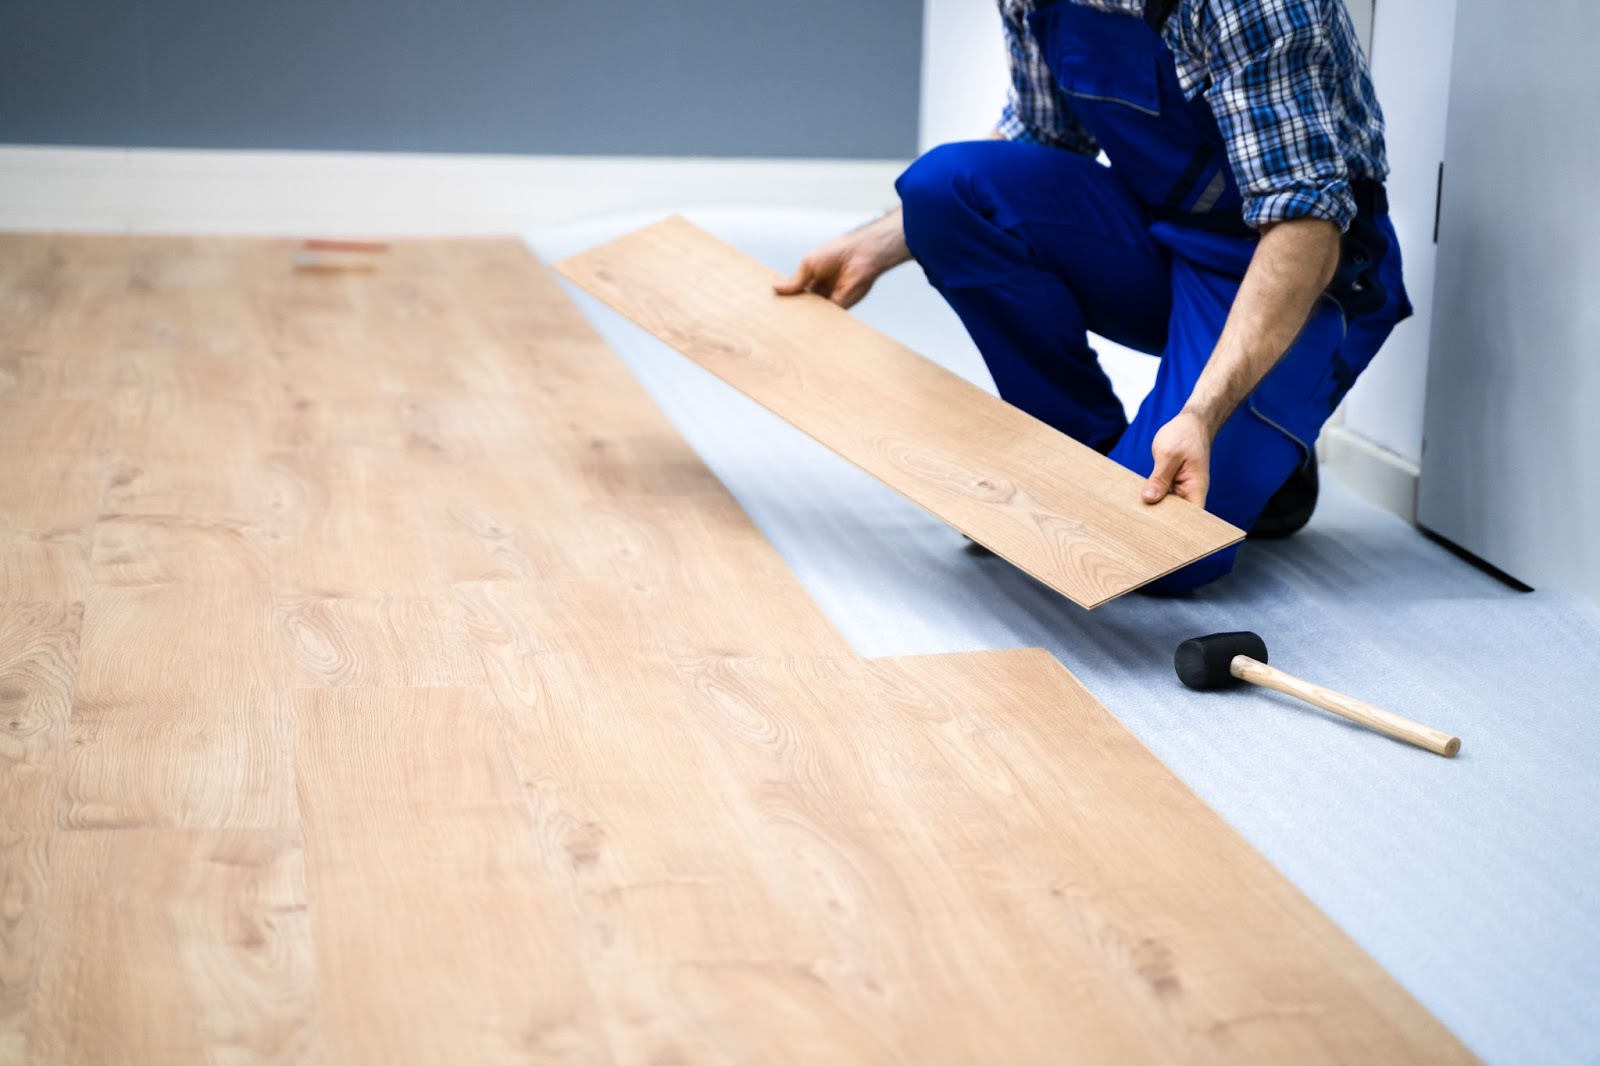
Laying the Planks
With the underlayment expertly installed, it’s time to lay down the hardwood planks. This phase of the installation process is a critical juncture that, when executed correctly, lays the foundation for a professional and visually pleasing result.
Select the longest wall in your room as your starting point for laying the planks. This strategic choice ensures that the installation begins on a stable and visually coherent note. As you embark on laying the first row of planks, pay meticulous attention to detail. Each plank should fit approx. ⅜” from the wall for expansion gaps. These initial planks not only set the tone but also serve as your reference point for the rest of the installation.
Staggering the Joints
Staggering the joints is a vital aspect of achieving a visually appealing and long-lasting hardwood floor installation. This technique enhances the overall aesthetic and ensures the floor’s durability for years to come.
As you proceed with the installation, take care to stagger the joints between adjacent rows of planks. Staggering means that the end joints of planks in one row do not align with the end joints of planks in the adjacent row. This thoughtful and deliberate arrangement prevents the floor from looking repetitive and unnatural. Instead, it lends your flooring project a seamless and organic appearance that’s both inviting and visually captivating.
Installing Trim
With all the planks in position and the staggering of joints impeccably executed, there’s one more step to complete your floating hardwood floor installation. The installation of baseboard trim is crucial for both practical and aesthetic reasons. Also, shoe molding is usually needed to cover all gaps between the floor and baseboard that will exist.
Securing the floating floor in place is essential to prevent shifting and ensure long-term stability. The baseboard trim fulfills this role while also adding a touch of elegance to your space. It neatly conceals the expansion gap between the hardwood floor and the wall, preventing any unsightly gaps and providing a polished finish to your flooring project. When properly installed, baseboard trim not only secures your hardwood floor but also adds a final touch of sophistication, ensuring your floor remains beautiful for years to come. A trim nailer will secure the trim to the walls.
Post-Installation Care
After installing your hardwood floor, proper care and maintenance ensure it maintains its beauty and durability. Regular cleaning with a soft broom or micro cloth mop helps keep your floor looking its best. Avoid using excessive water or harsh cleaning products, such as crystal cleaners or even polishes, as they can damage the finish of your hardwood floor. Tom Adams recommends BONA cleaning for Hardwood.
Get a Hand From The Pros
Installing hardwood floors on concrete isn’t complicated, but it’s not a walk in the park, either. If you’re looking for a team of professionals you can trust, look no further than Tom Adams Windows and Carpets. Whether you’re taking on a remodel, or just need to spruce up your floor, reach out today for a free estimate.
Conclusion
While installing hardwood floors on concrete can initially seem daunting, with the right tools, preparation, and a comprehensive guide, it’s a task you can confidently tackle to get the floor of your dreams. Whether you’re opting for traditional hardwood or floating hardwood floors, this guide has provided the knowledge and steps necessary for a successful installation. Remember, patience and attention to detail are key aspects of any successful DIY project. Happy flooring!