Get your free quote today for a new Hardwood Floor.
Staining hardwood floors is an excellent way to refresh and transform the look of your home, adding warmth, depth, and character to your living spaces. Not only does it enhance the appearance of your floors, but it also increases their durability and longevity. For DIY homeowners, taking on a hardwood floor staining project can be a rewarding experience that allows you to personalize your home. This guide will help you navigate the process and give you tips for ensuring the best results possible.
Hardwood Floor Staining Preparation
Before diving into the staining process, planning and preparing is crucial to ensure a smooth and successful outcome. Here are the key steps to take before you start:
Choosing the Right Stain Color and Finish
- Consider your home’s interior design: When selecting a stain color, think about your home’s overall style and color palette. You’ll want to choose a color that complements your existing decor and enhances the visual appeal of your living spaces.
- Test stain samples: To accurately represent how the stain will look on your floors, apply a small amount to a hidden or inconspicuous area. This will help you visualize the final result and avoid any unwanted surprises.
Gathering Necessary Tools and Materials
To complete the project, you’ll need the following tools and materials:
- Sandpaper or sanding machine
- Vacuum cleaner
- Tack cloth or damp mop
- Wood conditioner (optional)
- Stain
- Protective gloves
- Paintbrush, roller, or clean rags
- Finish
- Respirator mask
Preparing Your Workspace
- Ensure proper ventilation: Staining hardwood floors involves using products that emit strong fumes, so it’s essential to have adequate ventilation. Open windows and doors, and use fans to circulate fresh air.
- Protect surrounding areas: To prevent accidental spills or splatters from damaging nearby surfaces, cover baseboards, walls, and furniture with plastic sheeting or drop cloths.
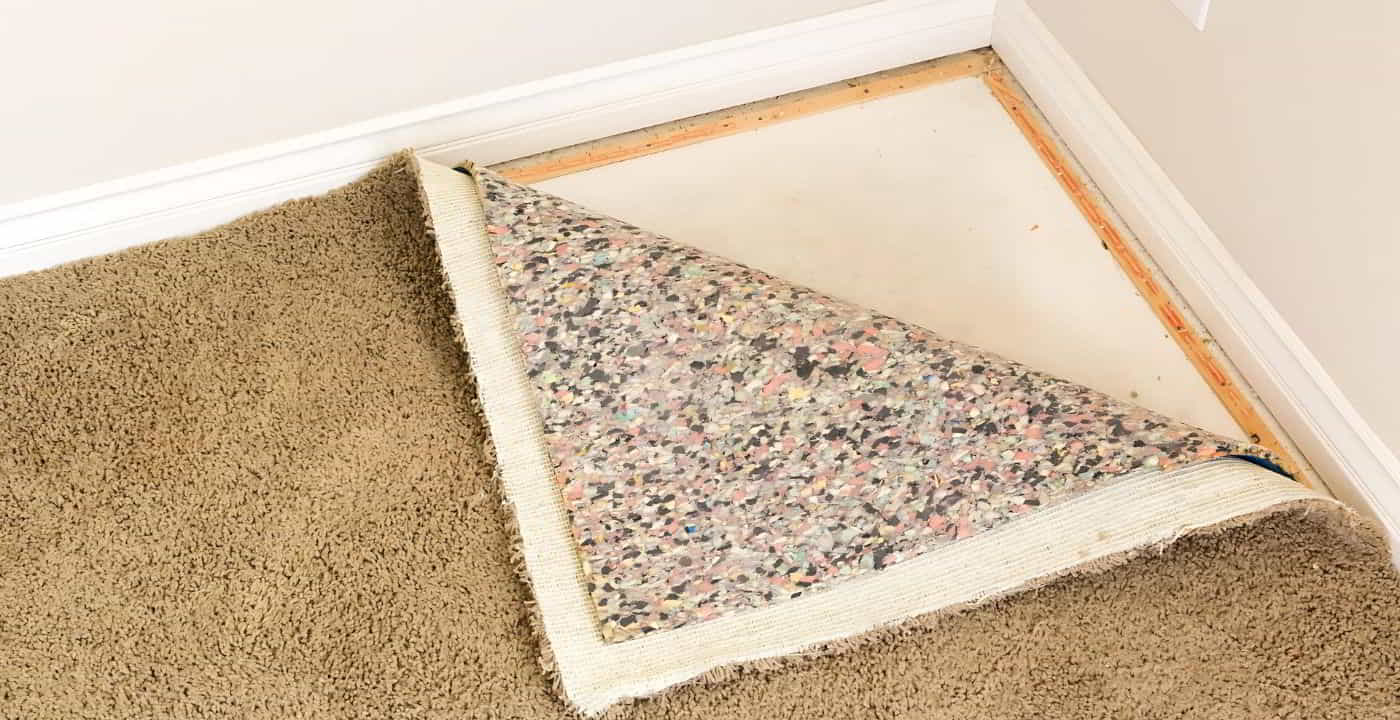
- Clear the floor: Remove all furniture, rugs, and other items from the room to ensure a clean and unobstructed workspace.
How To Stain Hardwood Floors Step-By-Step
To ensure a successful hardwood floor staining project, follow these essential steps.
Sanding the Floor
- Importance of sanding: Sanding removes the old finish, smooths the surface, and opens the wood grain, allowing the stain to penetrate evenly.
- Recommended grit sequence: Start with coarse-grit sandpaper (such as 36-40 grit) to remove the existing finish, then progress to a medium-grit (60-80 grit) and finish with a fine-grit sandpaper (100-120 grit) to achieve a smooth surface.
- Tips for sanding evenly: Keep the sanding machine moving steadily and avoid applying excessive pressure, which can lead to uneven surfaces or gouging the wood.
- Remember: No matter how well you sand and try to block off rooms from getting dusty- DUST will happen everywhere, please protect, food, cabinets, TV, pianos, glassware, and you still will have dust everywhere, so please expect it.
Cleaning the Floor
- Vacuuming dust and debris: After sanding, vacuum the entire floor to remove most of the dust and debris. Wipe down walls, ceilings and furniture.
- Tack cloth or damp mop: Use a tack cloth or wet mop to pick up any remaining fine dust particles, ensuring a clean surface for stain application.
Applying Wood Conditioner (Optional)
- Purpose of wood conditioner: Some hardwood species, such as pine, or large open grain wood can absorb stains unevenly. Wood conditioners help ensure a more uniform stain absorption.
- When and how to apply: If you use a wood conditioner, follow the manufacturer’s instructions for application and drying time.
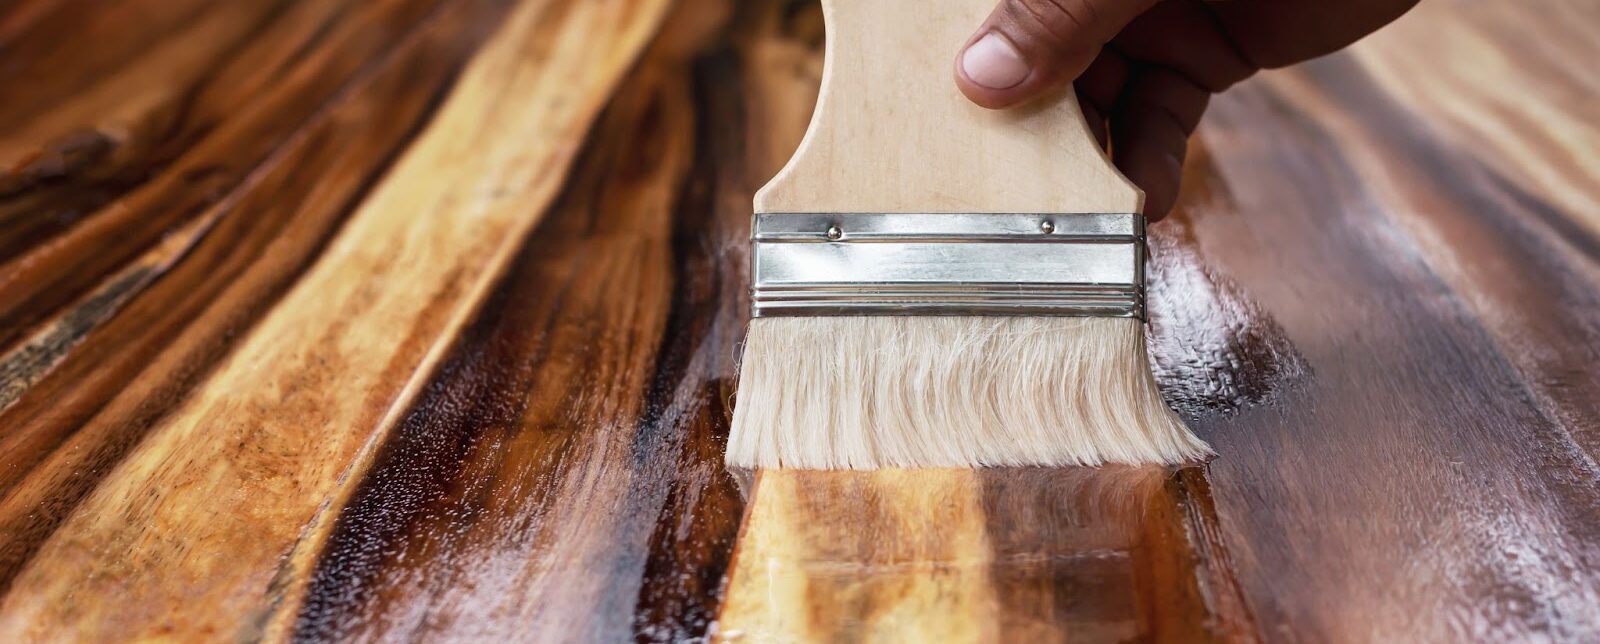
Applying the Stain
- Using a brush, roller, or rag: Apply the stain using a paintbrush, roller, or clean rag, working in manageable sections.
- Applying evenly: Work with the wood grain, using the stain evenly and avoiding pooling or streaks.
- Allowing adequate drying time: Refer to the stain manufacturer’s instructions for recommended drying times. Typically, it’s best to allow at least 24 hours for the stain to dry completely.
- Test an area first to ensure the correct color and shade. You can always light sand to start over again.
Applying the Finish
- Choosing the right finish: Select a finish that complements your stain and offers the desired level of protection for your floors (e.g., polyurethane, varnish, or natural oil).
- Application techniques: Apply the finish using a brush, roller, or applicator pad, following the manufacturer’s instructions for coverage and number of coats.
- Drying and curing times: Allow the finish to dry according to the manufacturer’s recommendations. It’s essential to wait until the finish is fully cured before moving furniture back into the room or subjecting the floor to heavy foot traffic.
By following these steps, you can achieve a beautifully stained hardwood floor that enhances the appearance and value of your home.
Common Mistakes When Staining Hardwood Floors
Be mindful of common mistakes and pitfalls as you work on your hardwood floor staining project.
- Not sanding properly: Skipping grit levels or rushing through the sanding process can result in an uneven surface and poor stain absorption.
- Inadequate dust removal: Failing to thoroughly clean the floor after sanding can prevent dust particles from mixing with the stain, resulting in a less-than-ideal finish.
- Applying stain unevenly: Uneven stain application can lead to blotchy or streaky results. Take your time and work with the grain for the best outcome.
When To Call The Pros For Hardwood Floor Staining
While staining hardwood floors can be a rewarding DIY project, there are situations when it’s best to enlist the help of a flooring professional, including the following examples:
- Complex or extensive repairs: If your floors require significant repair work or replacement of damaged planks, a professional can ensure proper installation and seamless blending with the surrounding floor.
- Inexperience with sanding equipment: Operating sanding machines can be challenging for beginners, and improper use can lead to costly mistakes. A professional floor refinisher can achieve a smooth, even surface with minimal risk of damage.
- Limited time or physical constraints: If you’re short on time or have physical limitations that make the staining process difficult, a professional can complete the job efficiently and to a high standard.
At Tom Adams, we’re passionate about delivering quality results that will keep your floors looking stunning. We no longer offer hardwood staining and finish due to the cost being equal to replacing the hardwood altogether. Unless you are doing new construction where you have control of no furniture, no traffic, and can control Humidity, we at Tom Adams recommend purchasing pre-finished hardwood floors. Allow us to help you make the right flooring decision so you can save time, money, and headaches.